 Save
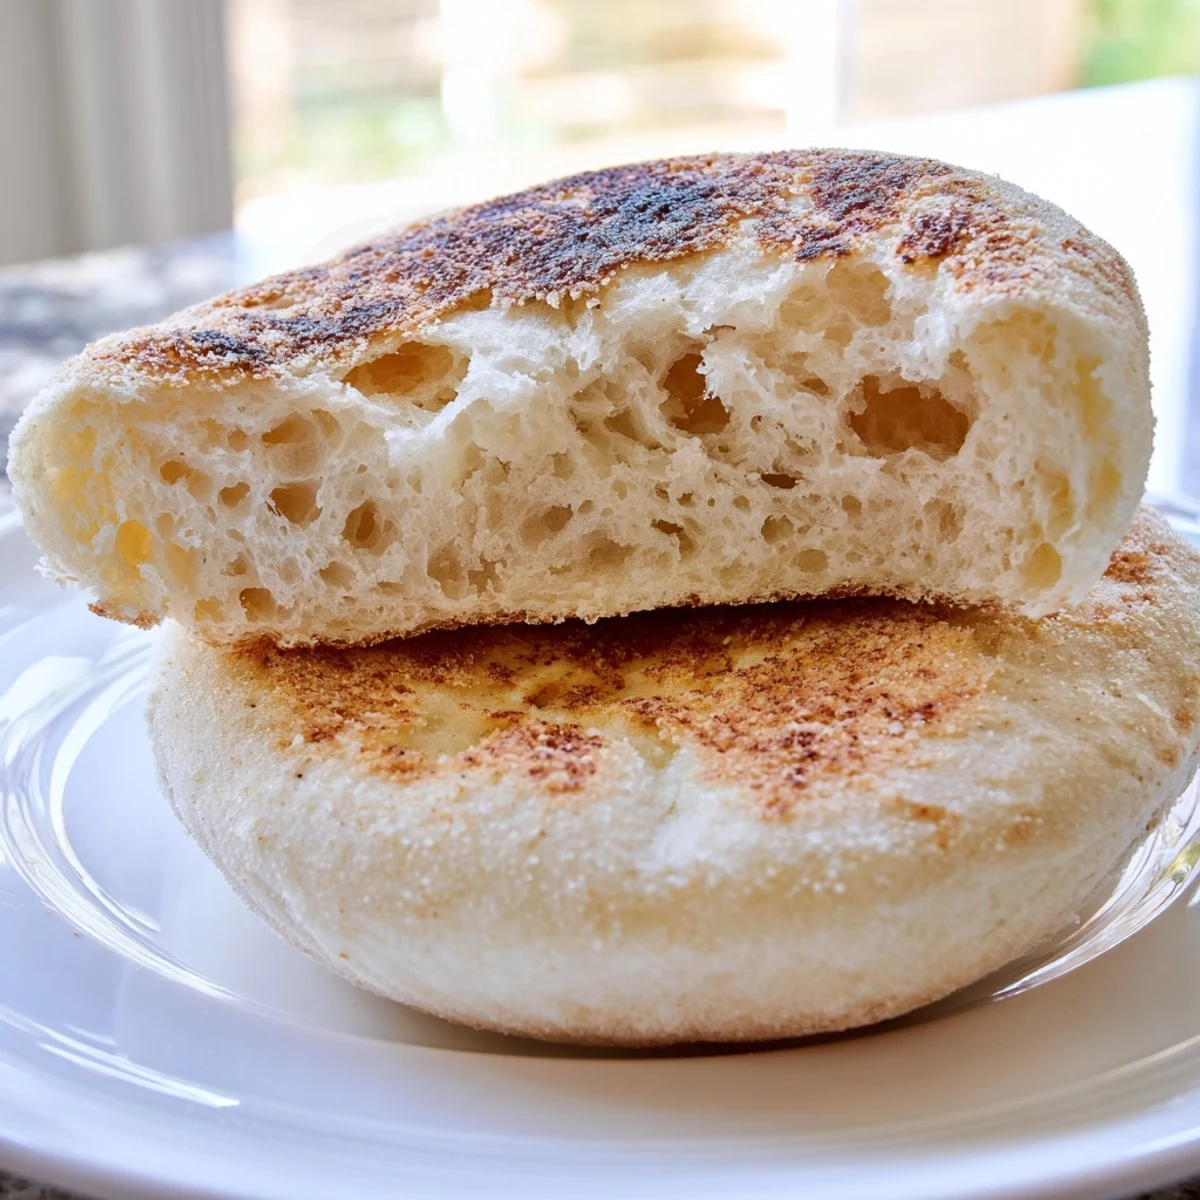
Save These homemade English muffins deliver the perfect breakfast experience with soft, airy interiors and golden-brown crusts. The dough requires just six simple ingredients and develops wonderfully through a straightforward rise process. Cooking on a skillet creates those signature nooks and crannies that cradle melted butter and jam beautifully. Each muffin splits perfectly with a fork, toasts up gorgeously, and keeps well for days. The method yields eight satisfying portions that freeze excellently for future enjoyment.
The smell of warm bread filling a Saturday morning kitchen changed everything for me. I had always bought English muffins from the store, never realizing how incredibly simple they are to make at home. That first batch came out imperfectly round, but when I fork-split one and watched steam curl up into the air, I knew there was no going back.
My sister came over unexpectedly while my second batch was proofing on the counter. She watched me flip them on the griddle, convinced I was making some complicated restaurant dish, but when she took that first bite with melted butter seeping into every crevice, she demanded the recipe right then and there.
Ingredients
- Bread flour: The higher protein content creates that perfect chewy texture that makes English muffins so satisfying to eat
- Lukewarm whole milk: The yeast needs warmth to activate, and whole milk adds richness that water simply cannot provide
- Active dry yeast: This living organism creates the air bubbles that become those beloved nooks and crannies we are all here for
- Granulated sugar: Just enough to feed the yeast without making the muffins sweet, it helps the dough rise beautifully
- Fine sea salt: Do not skip this, salt enhances all the flavors and balances the breadiness
- Unsalted butter: Melted butter adds a subtle richness that makes these muffins special rather than just functional
- Cornmeal or semolina: This dusting creates that distinctive crunch on the outside and prevents sticking while giving the classic English muffin appearance
Instructions
- Wake up the yeast:
- Dissolve the yeast and sugar in lukewarm milk, then wait patiently for five to ten minutes until you see a foamy layer on top
- Build the dough foundation:
- Mix flour and salt in a large bowl, create a well in the center, and pour in your activated yeast mixture with melted butter until a shaggy dough forms
- Work the dough:
- Knead on a floured surface for eight to ten minutes until the dough feels smooth and elastic, or use a stand mixer with a dough hook for five to six minutes
- Let it rise:
- Place the dough in an oiled bowl, cover it with a towel, and let it rest in a warm spot for one to one and a half hours until it has doubled in size
- Shape the muffins:
- Punch down the risen dough, roll it to three-fourths inch thickness, and cut circles with a three-inch round cutter, rerolling scraps to get eight muffins
- Prepare for proofing:
- Dust a baking sheet with cornmeal, place the muffins on top with space between them, and sprinkle more cornmeal lightly over their tops
- Second rise:
- Cover the muffins loosely and let them proof for twenty-five to thirty minutes until they look slightly puffed and full of promise
- Cook to golden perfection:
- Preheat your skillet over low-medium heat, grease lightly, and cook each muffin for seven to nine minutes per side until deeply golden with an internal temperature of 200 degrees
- Cool and serve:
- Let them cool on a rack, then split with a fork instead of a knife to create those signature craggy edges that hold butter and jam so beautifully
 Save
Save Now these muffins have become my go-to gift for new neighbors and housewarming presents. There is something so intimate about giving someone homemade bread, a way of saying welcome to the neighborhood without ever speaking the words.
Mastering the Dough
The dough should feel tacky but not sticky, and if it sticks to your hands like crazy, add just a sprinkle of flour. I have learned that slightly under-kneading is better than overworking, which can make the muffins tough instead of tender.
Temperature Matters
Your milk should feel like bathwater, about 105 degrees, hot enough to wake the yeast but not so hot that you kill it. If the mixture does not get foamy within ten minutes, your yeast might be dead and you should start over with fresh yeast.
Storage and Make-Ahead Tips
Cool them completely before storing in a paper bag at room temperature for up to three days, or freeze them individually wrapped for months. To refresh a day-old muffin, split it and toast it until the edges are crisp again.
- Make a double batch and freeze half, then pop frozen muffins directly in the toaster
- Try adding cinnamon raisins for a breakfast treat that needs no additional toppings
- These make excellent sandwich bread for egg sandwiches or mini burgers
 Save
Save There is nothing quite like pulling a warm English muffin apart, watching steam rise, and spreading butter that melts instantly into every crevice. Homemade truly makes all the difference.
Recipe FAQs
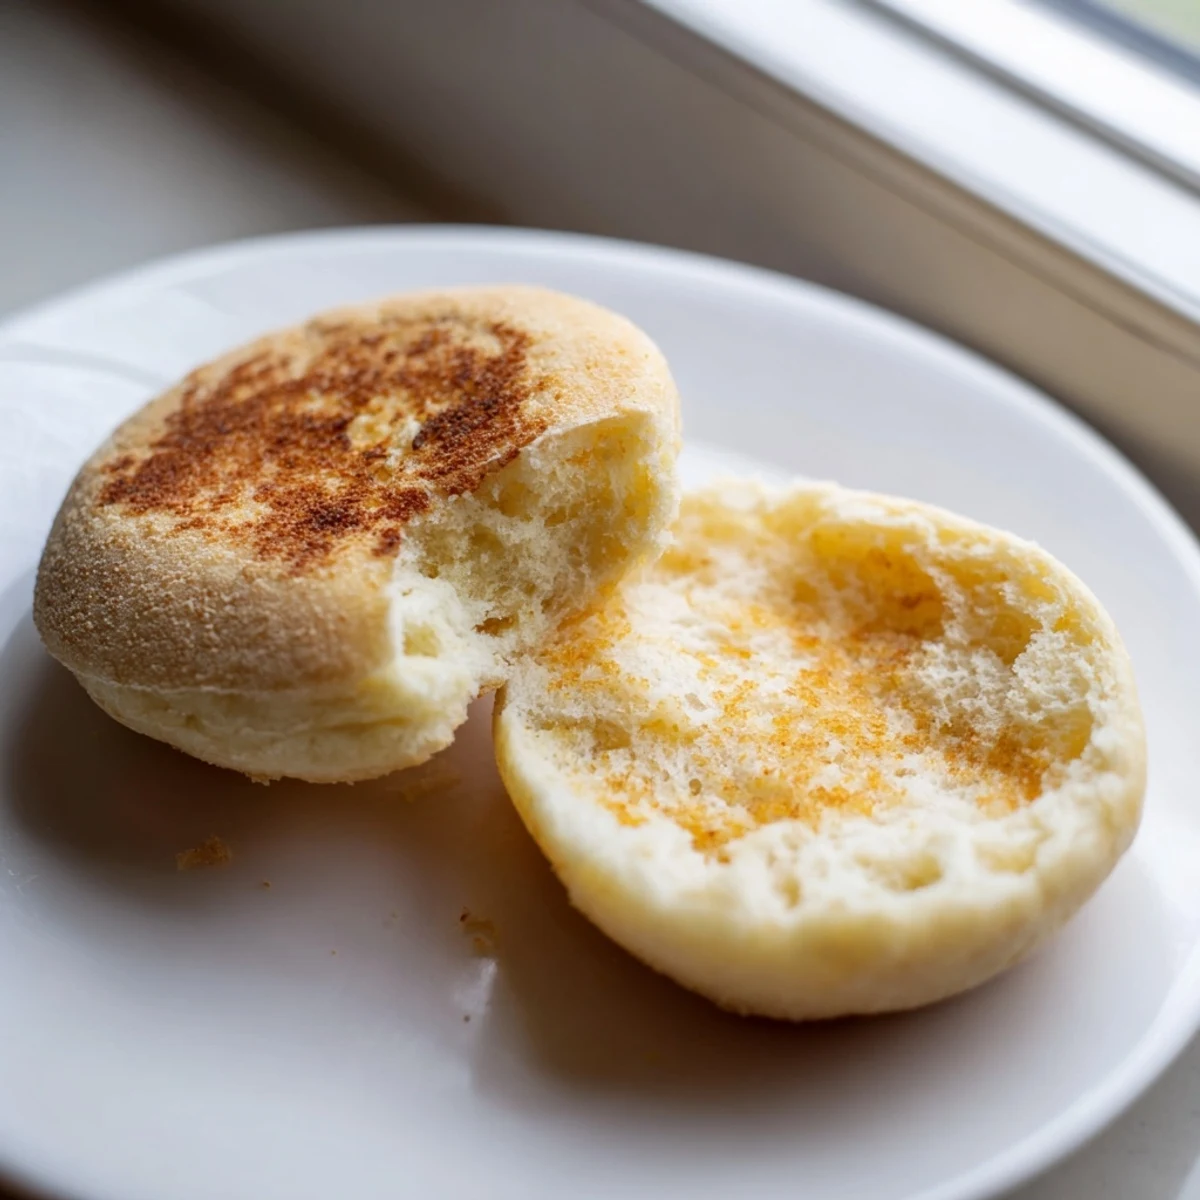
- → How do I get the signature nooks and crannies?
-
The key is cooking on a skillet rather than baking. The direct heat creates those signature pockets inside. Splitting with a fork instead of a knife also preserves the textured interior.
- → Can I make these dairy-free?
-
Absolutely. Substitute the whole milk with plant-based milk like oat or soy, and use vegan butter or coconut oil instead of dairy butter. The texture remains excellent.
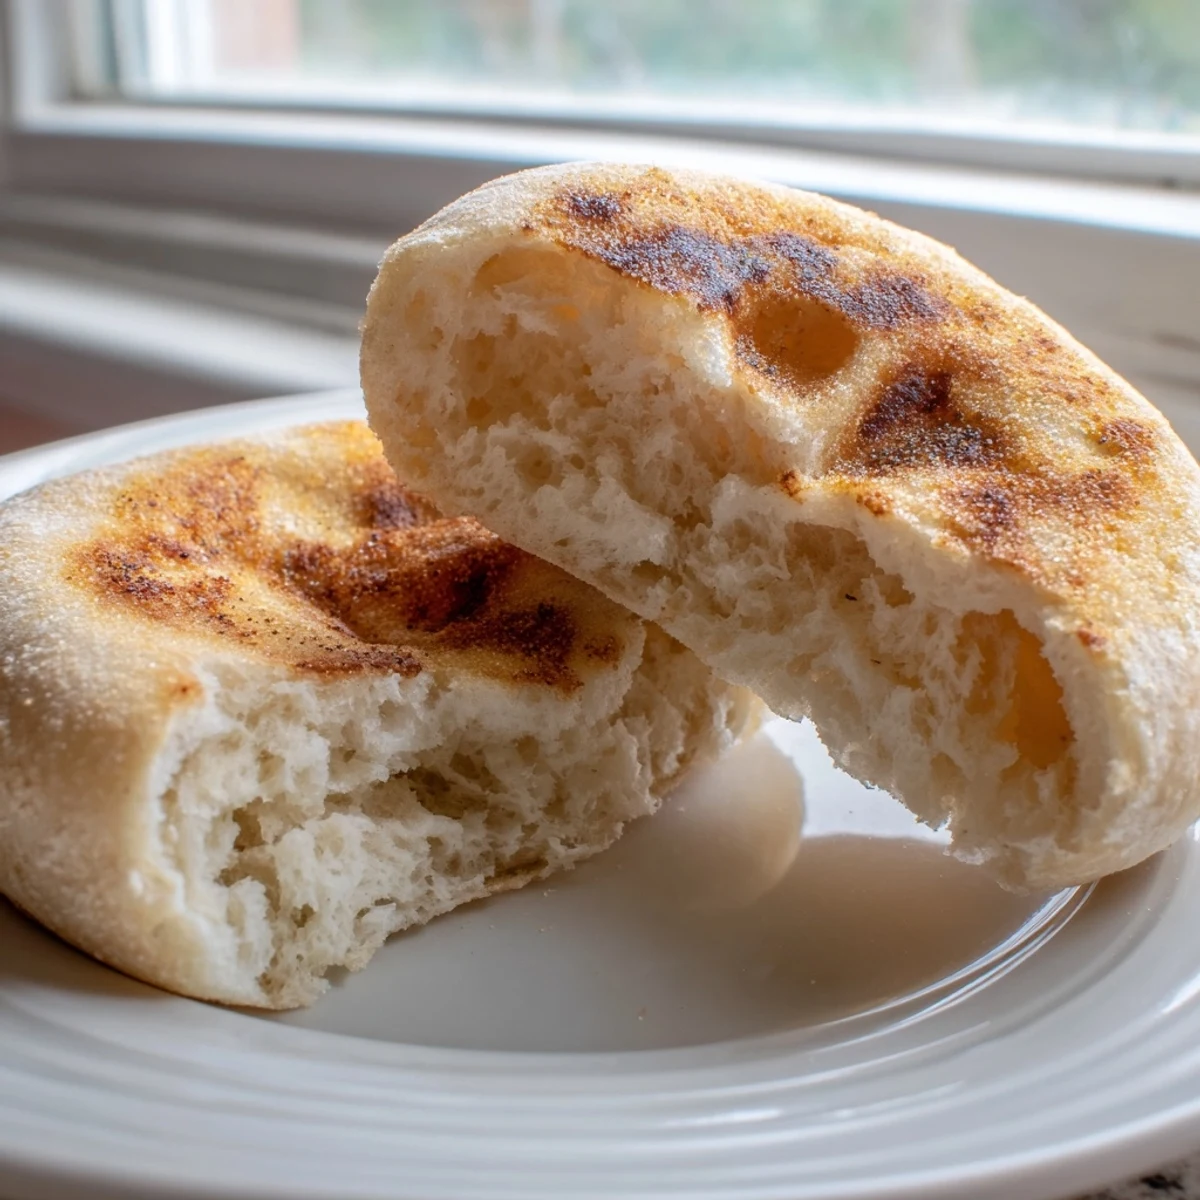
- → Why must I split with a fork?
-
Fork-splitting preserves those precious nooks and crannies. A knife slices through them, but the fork's tines separate the crumb naturally, maximizing surface area for butter and jam.
- → How long do these stay fresh?
-
Store at room temperature for up to three days in an airtight container. For longer storage, freeze individually wrapped for up to two months and toast directly from frozen.
- → What's the ideal skillet temperature?
-
Low to medium heat works best. Too high and the outsides burn before centers cook through. The muffins need 7-9 minutes per side to reach 200°F internally while developing deep golden color.
- → Can I add mix-ins like herbs or cheese?
-
Yes! Gently fold in shredded cheddar, fresh herbs, or even dried fruit during the final kneading. These additions work beautifully without compromising the classic texture.
