 Save
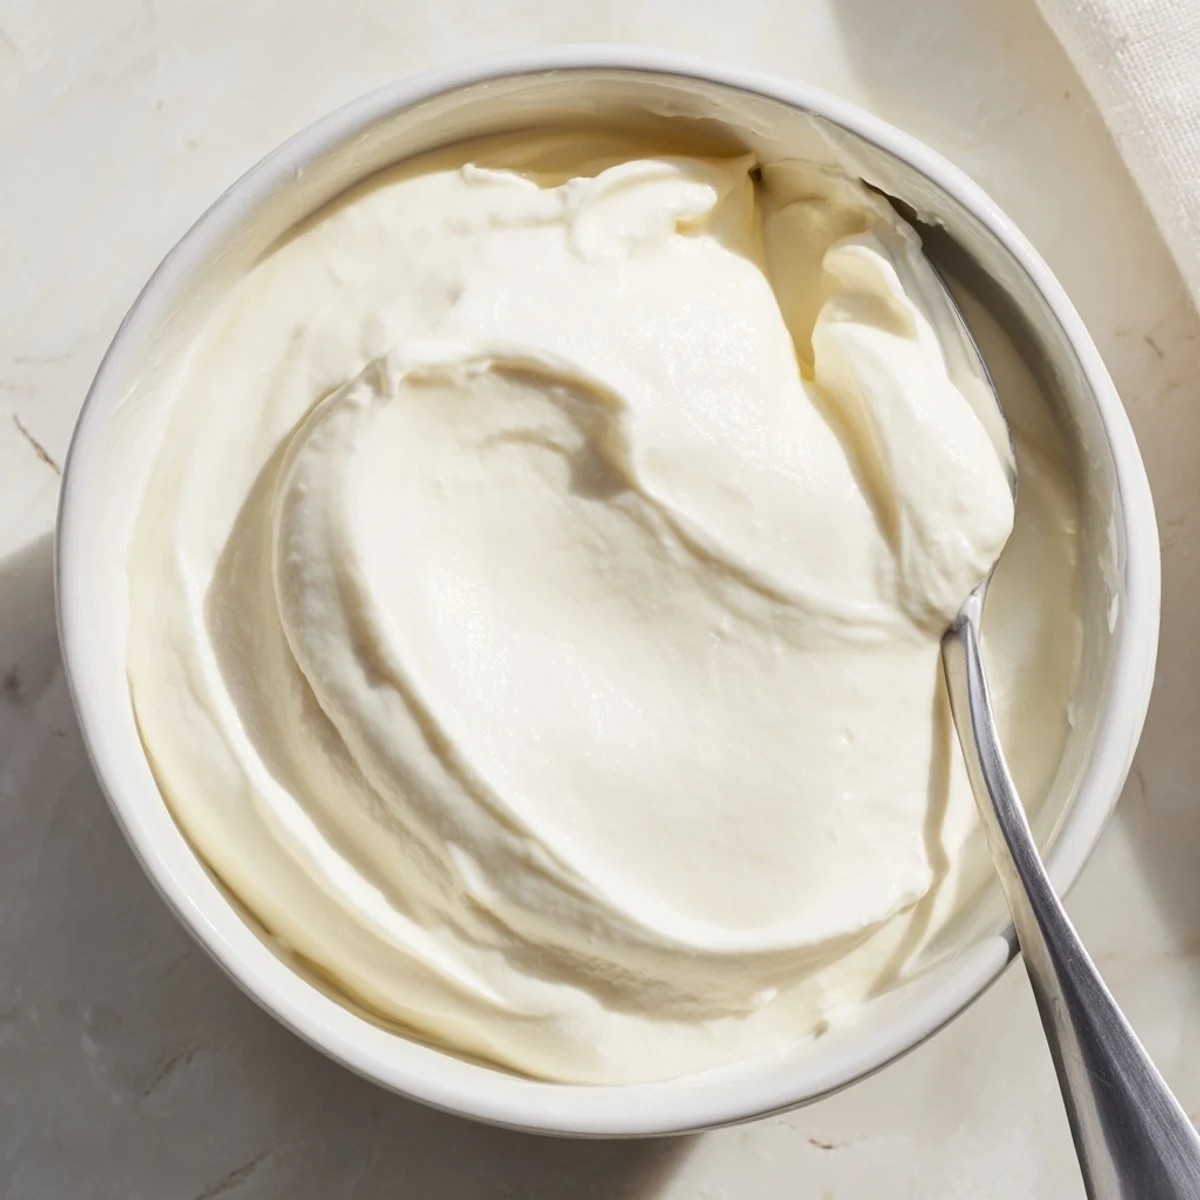
Save Learn to make authentic Greek yogurt at home with just milk and a starter culture. This traditional method produces thick, creamy yogurt with the characteristic tangy flavor Mediterranean cuisine is known for.
The process involves heating milk to the right temperature, adding live cultures, and allowing time for proper fermentation. The straining step creates that signature thick texture Greek yogurt lovers crave.
Customize your batch with honey, fresh fruit, or nuts for serving. The leftover whey from straining adds protein to smoothies or moisture to baked goods, making this a zero-waste preparation.
The first time I made yogurt at home, I stood over the stove with my thermometer, feeling like a scientist conducting an experiment. My kitchen smelled warm and milky, and I kept checking the temperature every thirty seconds. When I woke up the next morning and lifted the towel, seeing that perfect custard like consistency felt like genuine magic.
Last summer, my neighbor asked me to teach her how to make yogurt after she tasted my homemade batch with fresh berries. We stood in my kitchen with our thermometers, chatting about everything while the milk heated. Now she makes a batch every Sunday and sends me photos of her family enjoying it.
Ingredients
- Whole milk: Whole milk creates the creamiest yogurt with the best texture and richness
- Plain yogurt with live cultures: This is your starter, and the live bacteria are what transform milk into yogurt
Instructions
- Heat the milk:
- Pour milk into a saucepan over medium heat, stirring occasionally until it reaches 82°C (180°F)
- Cool it down:
- Let the milk cool naturally to 43°C (110°F), which takes about 15 to 20 minutes
- Make your starter:
- Whisk together 2 tablespoons of cooled milk with the yogurt starter until completely smooth
- Combine everything:
- Pour the starter mixture back into the cooled milk and stir gently but thoroughly
- Let it culture:
- Pour into a clean container, cover, wrap in a towel, and leave undisturbed in a warm spot for 6 to 8 hours
- Strain for Greek style:
- Line a strainer with cheesecloth, add the yogurt, and refrigerate for 1 to 2 hours until thick
- Store and enjoy:
- Transfer to a clean container and refrigerate until you are ready to serve
 Save
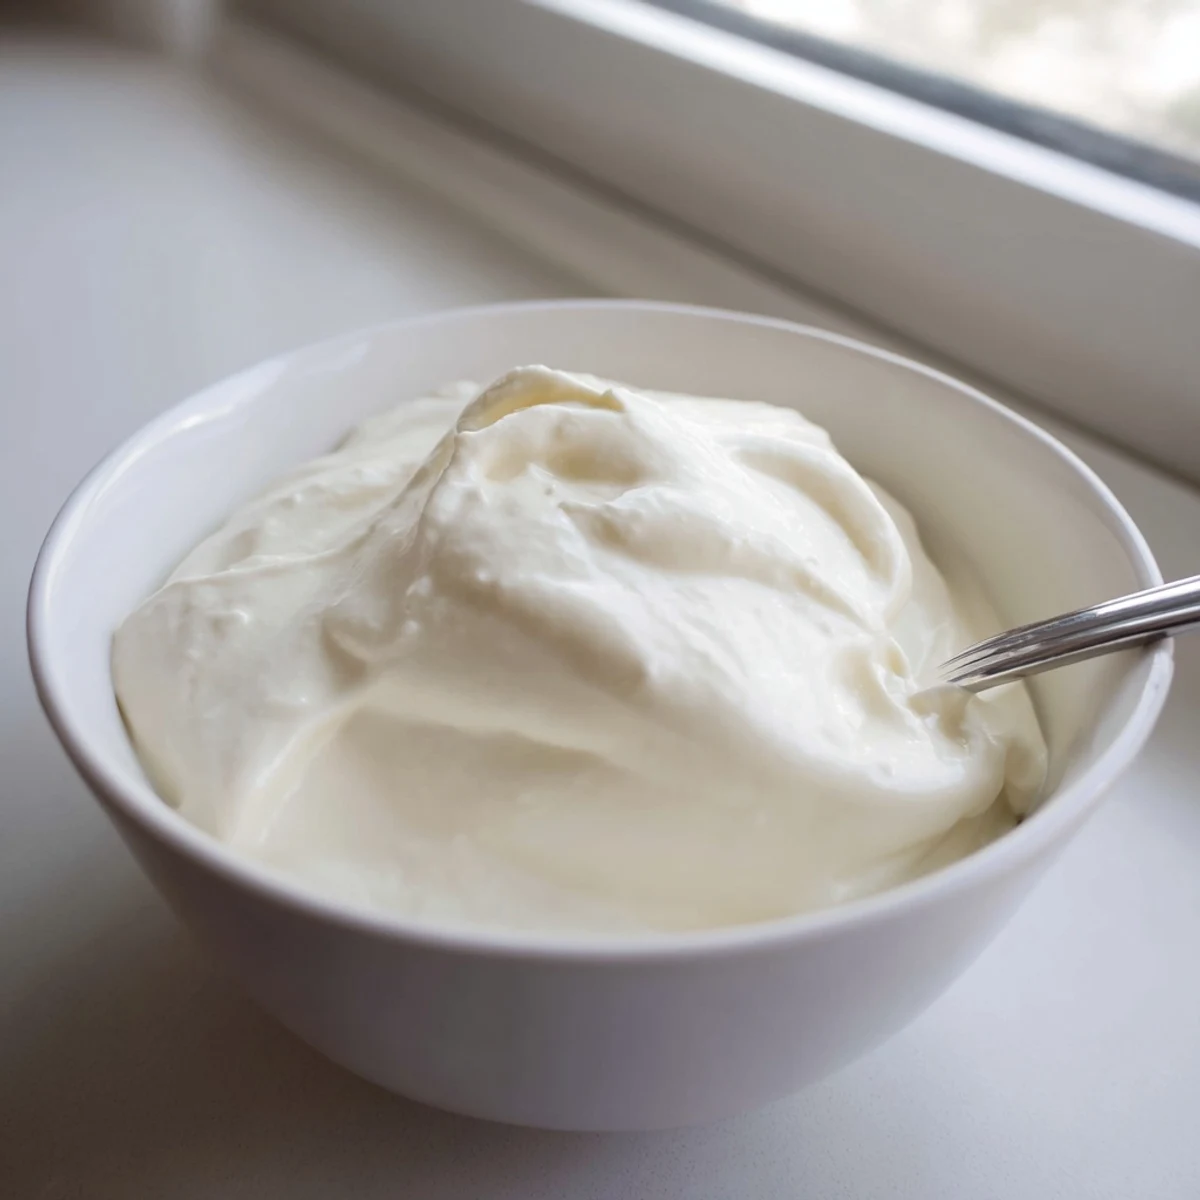
Save My daughter now asks for this yogurt every morning, and watching her choose fresh fruit and honey to top it has become one of those simple breakfast routines I treasure. It is funny how something so basic can become such a happy constant in our day.
Choosing Your Milk
Goat and sheep milk work beautifully here and add their own subtle flavor notes that make this recipe feel different and special each time.
Temperature Control
A thermometer is non negotiable for consistent results, but I have learned that the milk feels pleasantly warm to the touch when it hits that perfect culturing temperature.
Serving Suggestions
This yogurt is incredibly versatile and works in both sweet and savory contexts, making it a kitchen staple I always keep stocked.
- Save the whey for smoothies or baking instead of pouring it down the drain
- Try adding vanilla extract or a pinch of salt before culturing for flavor variations
- Mix in honey while the yogurt is still warm so it dissolves completely
 Save
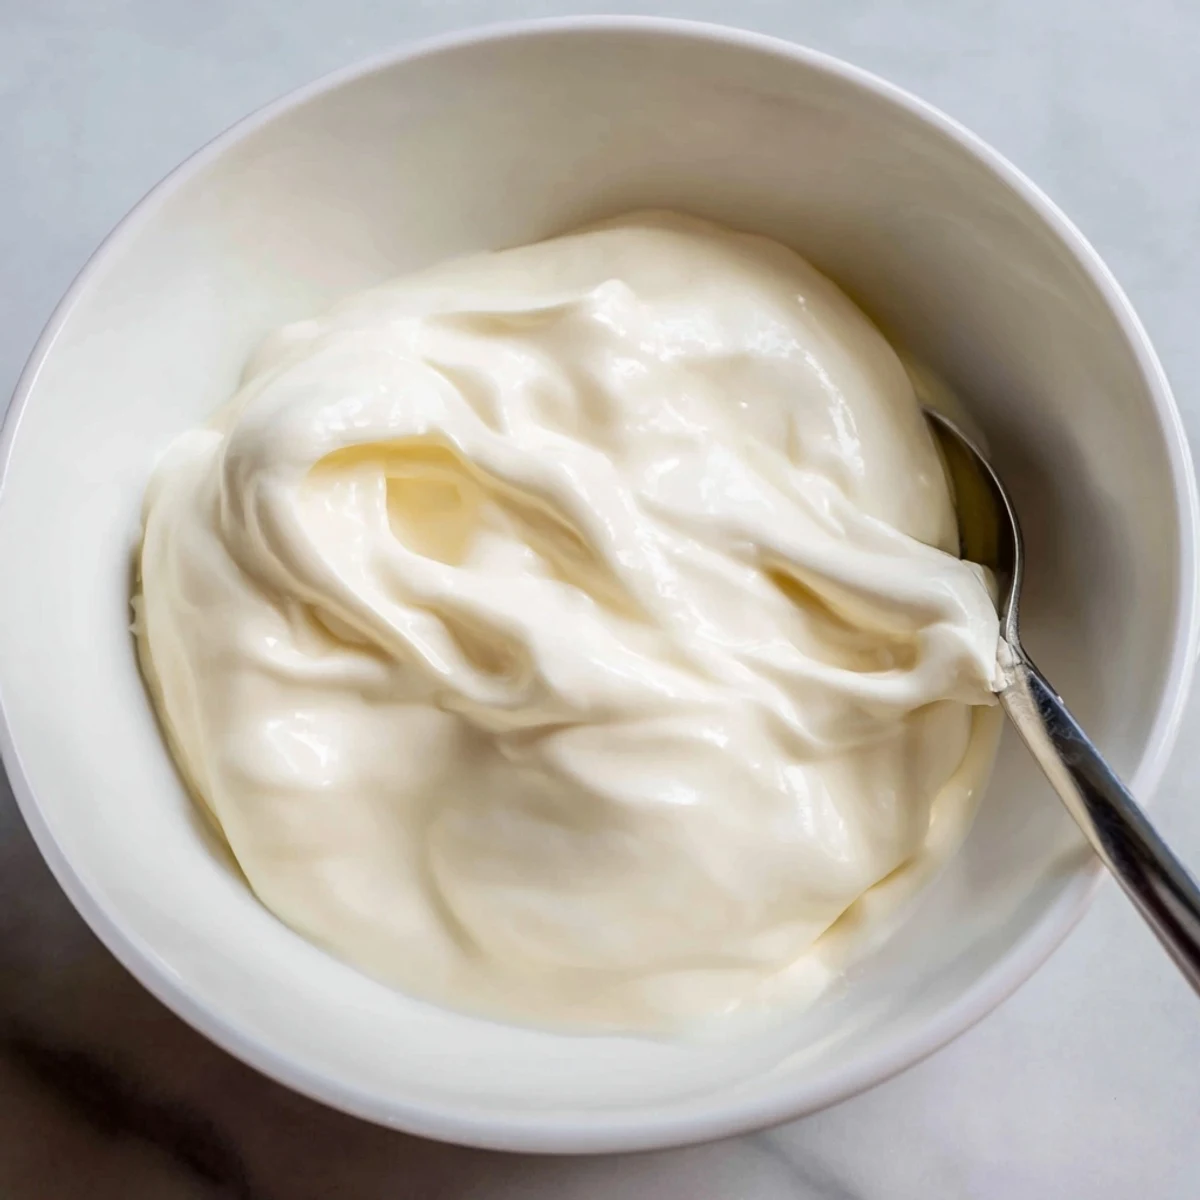
Save There is something deeply satisfying about making something so wholesome from scratch, and once you taste the difference, you might never go back to store bought again.
Recipe FAQs
- → What makes Greek yogurt different from regular yogurt?
-
Greek yogurt undergoes straining to remove whey, resulting in a thicker, creamier texture with higher protein content. The straining process concentrates the yogurt, making it denser and more velvety than regular varieties.
- → How long does homemade Greek yogurt last?
-
Properly stored in an airtight container, homemade Greek yogurt stays fresh for up to two weeks in the refrigerator. The tangy flavor may intensify slightly over time as the cultures continue working.
- → Can I use non-dairy milk for this preparation?
-
Yes, though the texture and flavor will vary. Coconut milk produces rich results, while almond milk creates a lighter version. Ensure your non-dairy yogurt starter contains live active cultures for proper fermentation.
- → Why does the milk need to reach specific temperatures?
-
Heating to 82°C kills bacteria that could interfere with culturing. Cooling to 43°C creates the ideal environment for beneficial bacteria to thrive and transform milk into yogurt through fermentation.
- → What can I do with the leftover whey?
-
The strained whey contains protein and beneficial nutrients. Use it in smoothies for extra nutrition, substitute for buttermilk in baking, or add to soups and sauces for depth and richness.
- → How do I know when the yogurt is finished culturing?
-
After 6–8 hours, the yogurt should be set with a gentle wobble when the container is tilted. The longer it cultures, the tangier the flavor becomes. Taste periodically until you reach your preferred balance.
