 Save
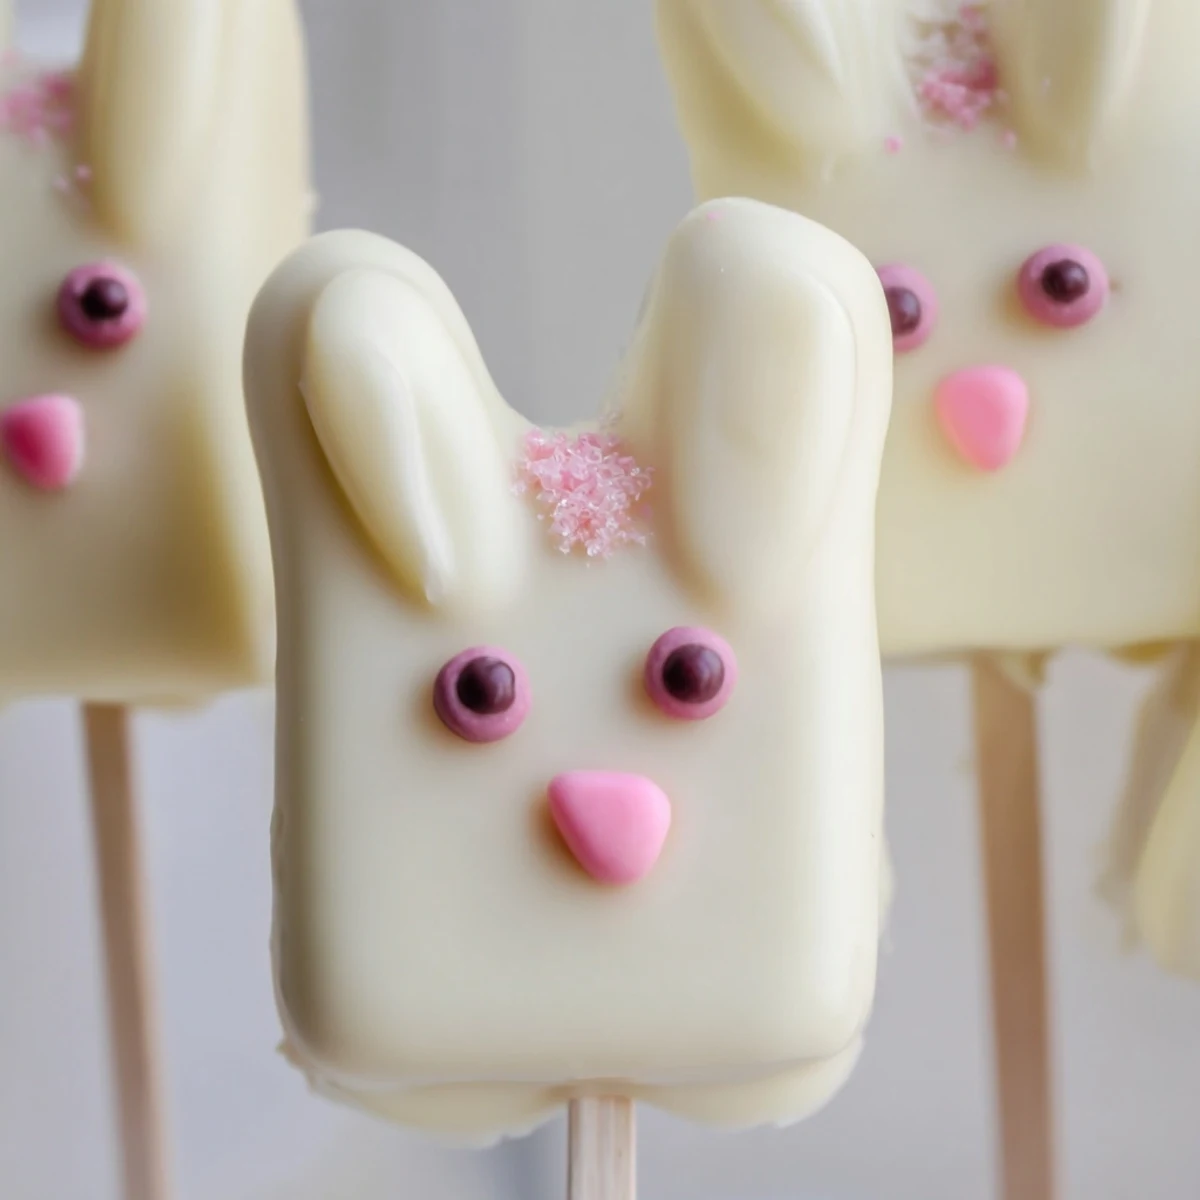
Save These charming bunny-shaped cakesicles combine moist vanilla cake crumbs with cream cheese and butter, shaped into adorable faces and coated in silky white chocolate. Each handheld treat delivers the perfect balance of sweet cake and creamy coating, decorated with candy eyes, sprinkles, or fondant details to create personalized bunny characters.
The process is straightforward: mix cake crumb mixture, shape into bunny faces, chill briefly, then dip in melted white chocolate. Decorate while the coating sets for custom Easter treats that both kids and adults will love.
The kitchen counter looked like a pastel explosion had gone off, and I couldnt stop laughing. My daughter had decided we needed to make Easter treats that actually looked like bunnies, not just vaguely rabbit-shaped blobs. These white chocolate cakesicles ended up being the solution, and they were surprisingly forgiving for my limited sculpting skills.
Last Easter, my neighbor came over with her kids and we made an assembly line out of the process. The best part was watching the kids argue over whose bunny had the cutest nose, while the adults sneakily tasted the extra white chocolate. Those little cake pops on sticks disappeared faster than the actual Easter eggs.
Ingredients
- Vanilla cake crumbs: Using slightly stale cake actually works better here since it absorbs the moisture without getting gummy
- Cream cheese and butter: Room temperature is crucial or you will end up with lumps that refuse to incorporate
- Powdered sugar: This helps bind everything together without adding extra moisture
- White chocolate: Candy melts are more forgiving than real white chocolate for beginners since they set up harder
- Cakesicle sticks: Insert these at an angle rather than straight down for better stability
Instructions
- Make the cake mixture:
- Mix everything with your hands to really feel when the texture turns from crumbs into something that holds together when squeezed
- Shape the bunnies:
- Dont stress about perfection these are supposed to look handmade and rustic
- Chill thoroughly:
- Twenty minutes minimum or the cake will fall off the stick when you dip it
- Melt the coating:
- Microwave in thirty second bursts and stir between each to prevent seizing
- Dip and tap:
- Hold the cake pop sideways and tap your wrist to remove excess chocolate rather than shaking the stick
- Add decorations quickly:
- The white chocolate sets fast so have your candy eyes and sprinkles ready before you start dipping
 Save
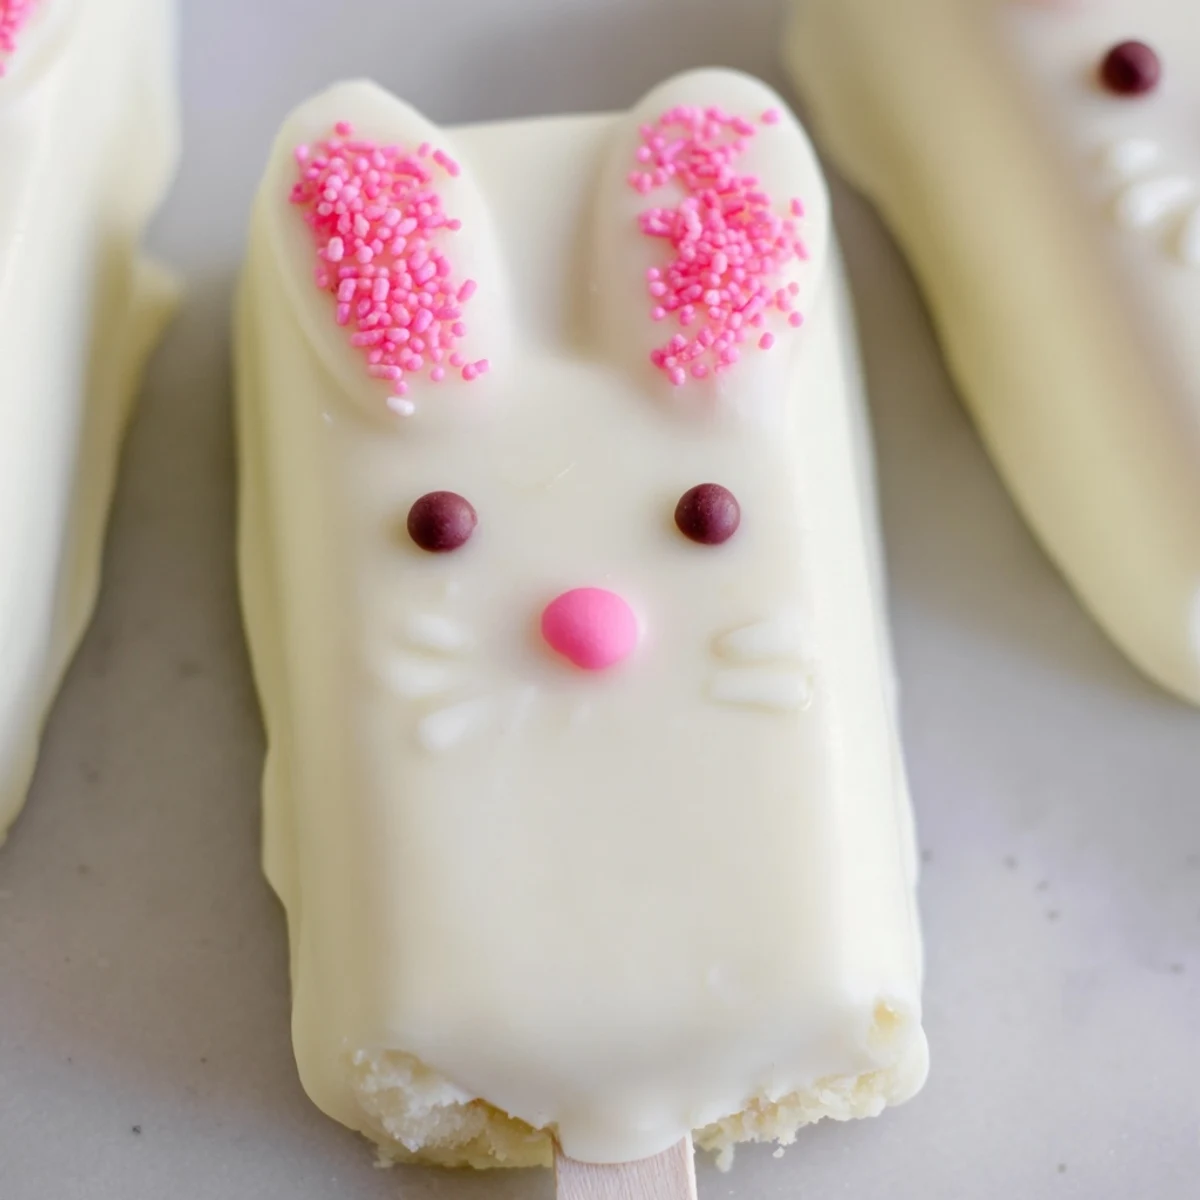
Save My friend Sarah swears she cannot bake at all but she made the most adorable bunny cakesicles I have ever seen. She used pink candy melts for the ears and somehow managed to make each bunny look like it had a distinct personality. Now they are her signature contribution to every Easter gathering.
Choosing Your Cake Base
I have used everything from boxed cake mix to leftover birthday cake and they all work beautifully. Chocolate cake with white coating creates a stunning contrast while lemon cake gives a refreshing spring flavor that feels lighter after a big Easter meal.
Decoration Ideas
The first year I tried piping royal icing for the bunny whiskers and it was an absolute disaster. Now I stick to edible food pens or simple candy eyes because life is too short for whisker related stress. Sometimes less is definitely more.
Storage Tips
I learned the hard way that these do not travel well in warm weather so keep them chilled until serving time. They actually taste better slightly chilled because the texture becomes firmer and more satisfying to bite into.
- Store them upright in a glass filled with uncooked rice
- Wrap individually in plastic wrap if you need to transport them
- Let them come to room temperature for five minutes before serving
 Save
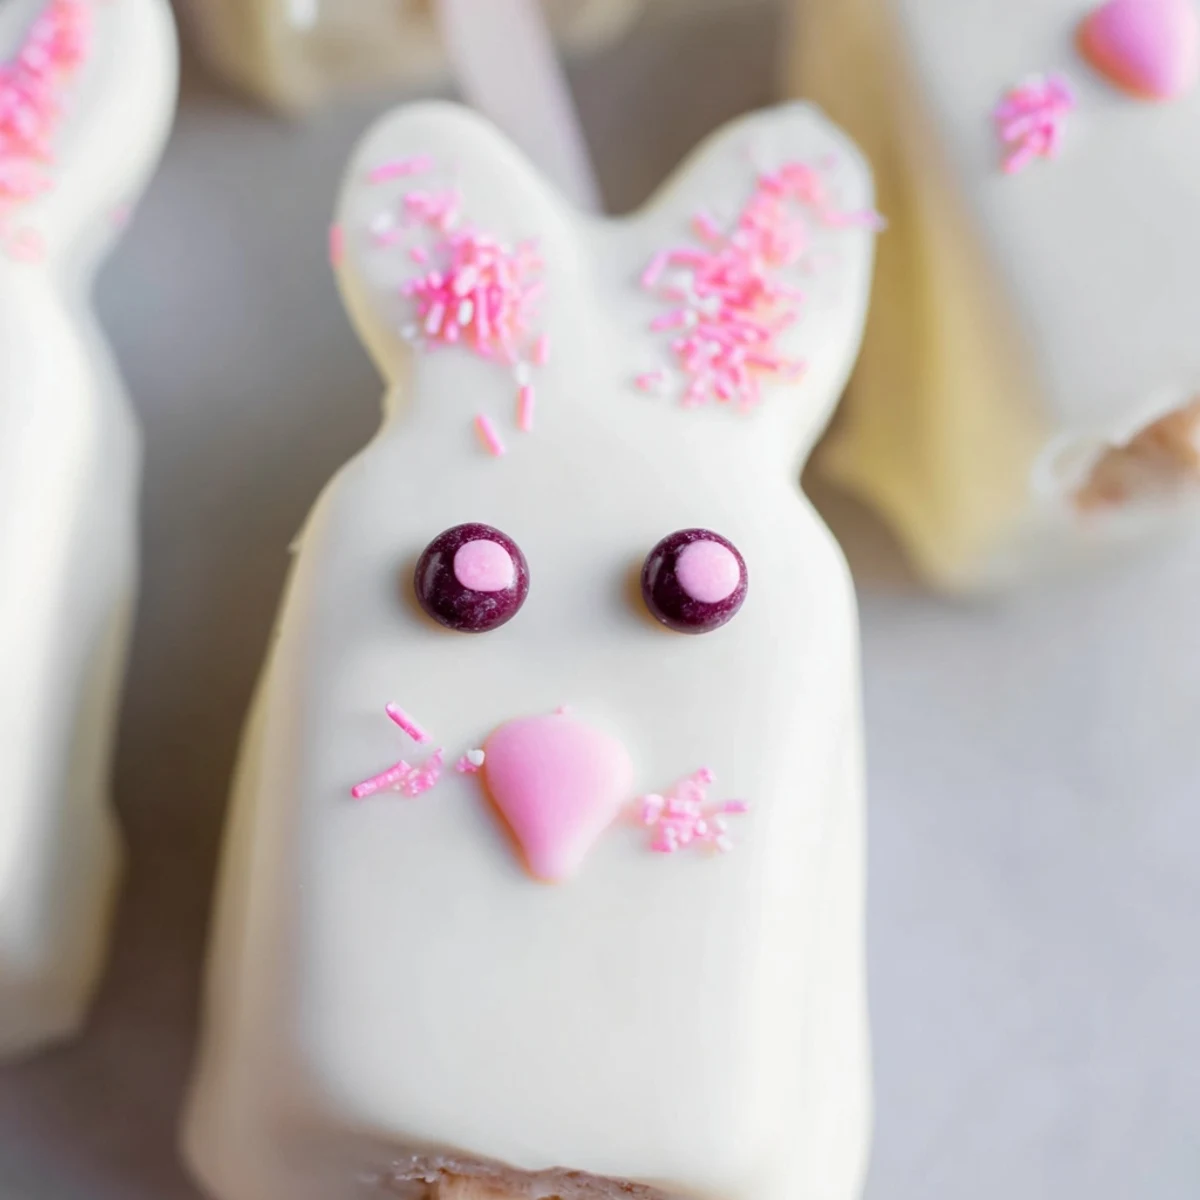
Save These bunny cakesicles have become such a hit that my family now requests them year round not just for Easter. They are silly sweet and impossible to eat without smiling.
Recipe FAQs
- → What are cakesicles?
-
Cakesicles are cake pops shaped like popsicles, made by combining cake crumbs with frosting into a dough, molding them into flat shapes, inserting sticks, and coating in chocolate or candy melts.
- → How far in advance can I make these?
-
These bunny cakesicles stay fresh in an airtight container in the refrigerator for up to 3 days, making them perfect for preparing a day or two before your Easter gathering.
- → Can I use different cake flavors?
-
Absolutely! Chocolate, lemon, red velvet, or funfetti cake crumbs all work beautifully. The white chocolate coating complements any cake flavor you choose.
- → Do I need a special mold?
-
While cakesicle molds help create uniform shapes, you can hand-form the mixture into flattened oval bunny faces. The mold is optional but convenient for consistent sizing.
- → What decorations work best for bunny faces?
-
Candy eyes, sprinkles, fondant ears and noses, edible food coloring pens, and even pretzel sticks for ears all create charming bunny features. Use whatever decorations you have on hand.
