 Save
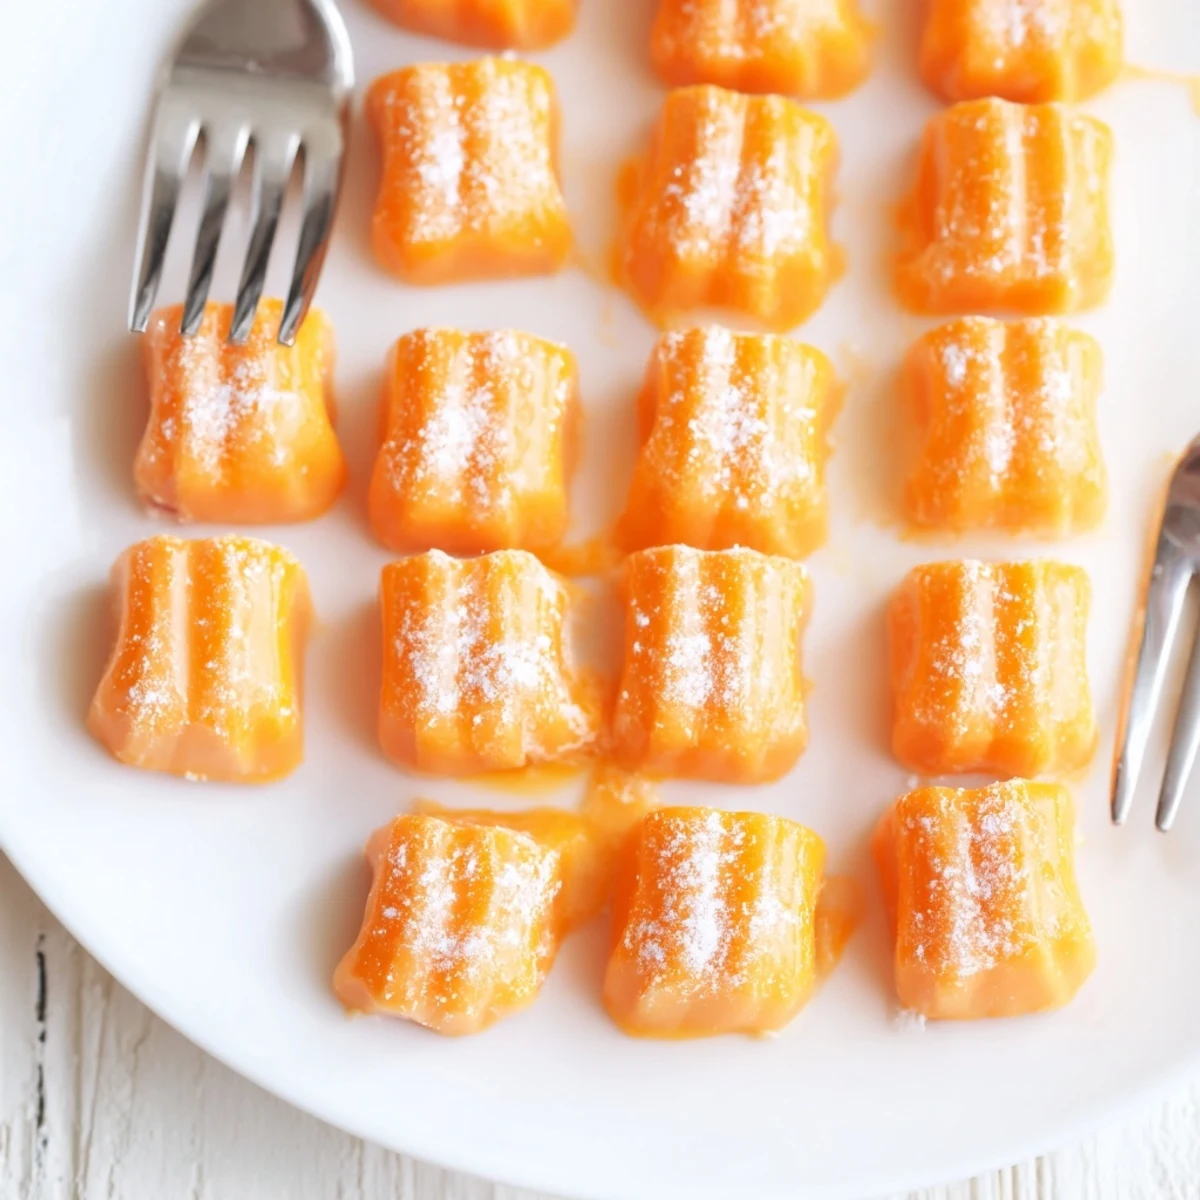
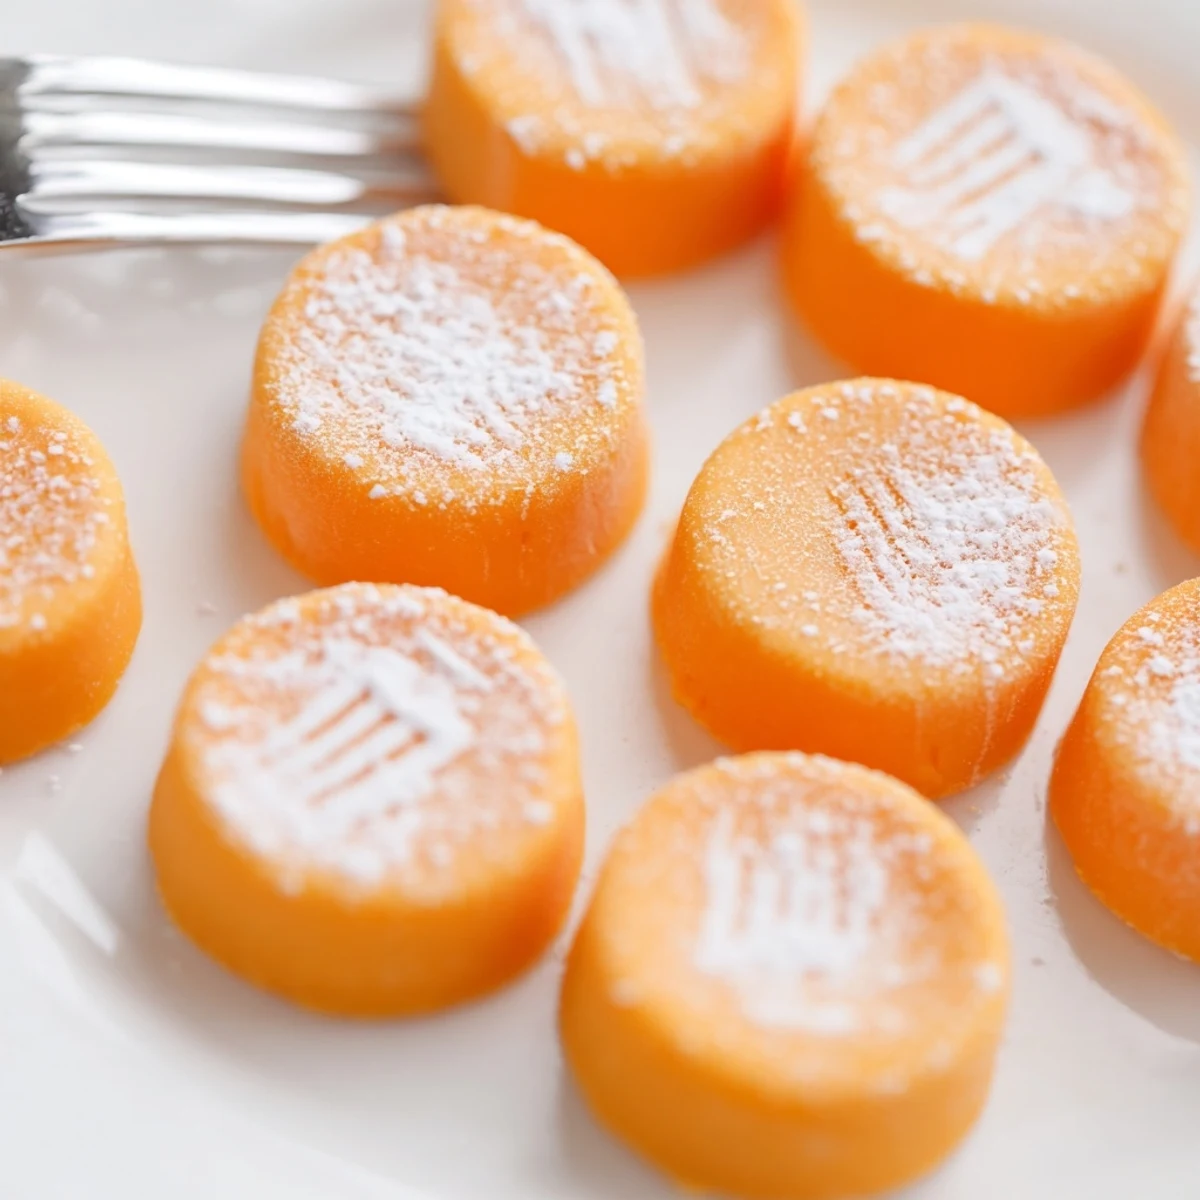
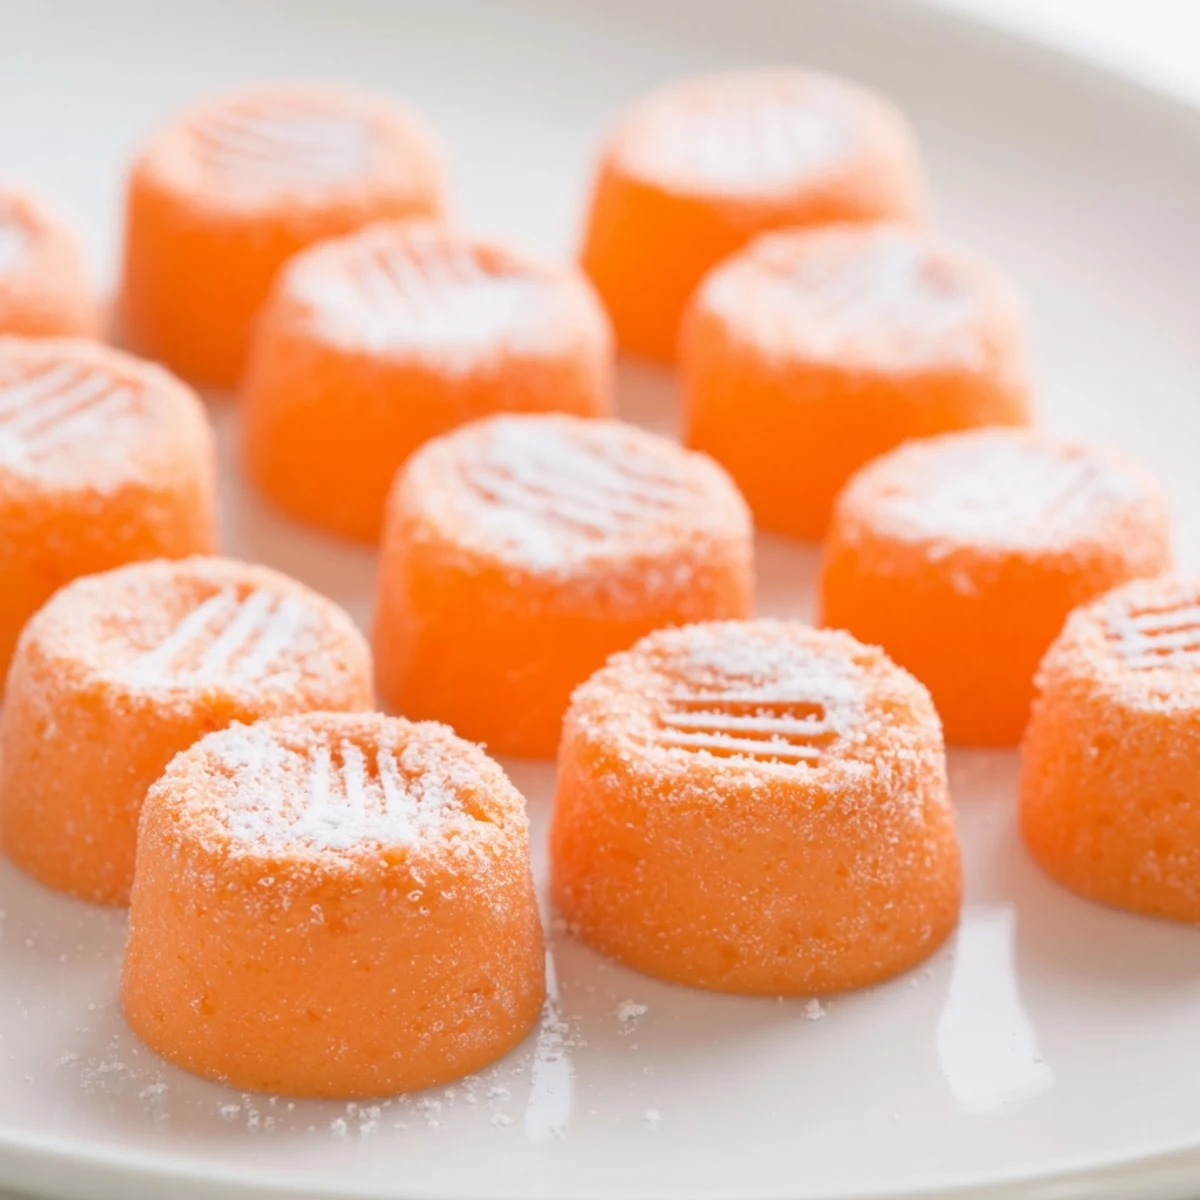
Save These delightful orange cream cheese mints combine smooth cream cheese and butter with vibrant orange extract for a treat that literally melts in your mouth. The dough comes together quickly—just beat, color, shape, and chill. Each batch yields about sixty individual mints, making them perfect for large gatherings or edible gifts. You can customize the orange hue to match any event theme, from soft pastels for spring celebrations to deep autumnal tones for fall festivities.
The first time I made these orange cream cheese mints was for my sister's baby shower. I'd seen them at wedding receptions as a kid, always mystified by how something so simple could taste like pure sunshine. My grandmother called them wedding mints and kept a crystal dish filled with them on her sideboard. When I finally learned the recipe, I understood why she always made them in double batches.
I remember setting up that baby shower buffet, arranging these little orange mints in glass bowls alongside the lemon bars. Every time I walked past, someone was popping one into their mouth and making that surprised oh face. My sister ate five before she even realized what she was doing. Now they're the one thing everyone asks for at every family gathering.
Ingredients
- 4 oz cream cheese, softened: Use full-fat cream cheese and let it sit out for at least an hour. Room temperature is the difference between silky smooth mints and ones that taste grainy and sad.
- 2 tbsp unsalted butter, softened: Butter adds that extra richness that makes these feel luxurious. Unsalted lets you control exactly how sweet they become.
- 1/2 tsp orange extract: Pure orange extract packs way more flavor than zest ever could. Start with half a teaspoon and add more drop by drop until it sings.
- 2 1/2–3 cups powdered sugar, sifted: Sifting is non-negotiable here. Lumpy powdered sugar will ruin your texture. Add gradually until the dough feels like soft play-dough.
- Orange food coloring: Gel coloring works best without thinning the dough. A tiny drop goes further than you think.
- Extra powdered sugar for dusting: Keep a small bowl nearby for dusting your hands and work surface. This dough gets sticky as you work with it.
Instructions
- Make the creamy base:
- Beat the softened cream cheese and butter together until they're indistinguishable from each other. This takes about 2 minutes with an electric mixer, and you'll know it's ready when the mixture looks glossy and no butter bits remain visible.
- Add the sunshine:
- Pour in your orange extract and food coloring. Mix until the color is evenly distributed. Don't worry if it looks pastel right now, the color will intensify slightly as the dough chills.
- Transform into dough:
- Add the powdered sugar half a cup at a time, beating after each addition. The dough will go from sticky to shaggy to smooth. Stop when it holds together easily but still feels soft and pliable.
- Taste and adjust:
- Pinch off a tiny piece and taste it. Need more orange? Add it drop by drop. Too sweet? A pinch of salt helps balance. This is your chance to perfect the flavor before shaping.
- Shape into perfect bites:
- Dust your hands with powdered sugar. Roll the dough into 3/4-inch balls and place them on a parchment-lined tray. Gently flatten each with a fork, pressing just enough to make a pretty pattern on top.
- Let them firm up:
- Cover the tray and refrigerate for at least an hour. They need this time to set properly. The texture transforms from soft dough to something with a perfect, creamy bite.
- Store properly:
- Keep them in an airtight container between layers of wax paper. They'll last a week in the fridge or freeze beautifully for months, though they never seem to last that long around here.
 Save
Save Last Christmas, I made three batches in different colors and arranged them in a rainbow pattern on a silver platter. My usually stoic father-in-law took one bite and immediately asked for the recipe. There's something about that bright orange flavor that makes people happy, like edible sunshine wrapped in a tiny cream-colored package.
Making Them Your Own
While orange is classic, I've experimented with lemon, peppermint, and even almond extract. The technique stays exactly the same. Food coloring can match any occasion, from pastel pink for baby showers to deep red for Christmas gatherings. Sometimes I leave them plain white and they look like little snowballs.
The Shaping Secret
I learned the hard way that warm hands make for sticky, misshapen mints. Keep a bowl of ice water nearby and dip your hands between batches. Also, don't be afraid to re-roll any that don't look perfect. The dough is very forgiving and can be worked multiple times without toughening.
Serving Suggestions
These mints shine when served slightly chilled but not ice cold. About 15 minutes out of the refrigerator is the sweet spot for texture. I arrange them in vintage candy dishes, crystal bowls, or even clear glass jars tied with ribbon.
- Package them in clear bags tied with orange ribbon for party favors
- Layer them between wax paper in decorative tins for gift giving
- Set them out alongside chocolate desserts for a refreshing contrast
 Save
Save Every time I make these, I think about how the simplest recipes often become the most beloved. There's something almost magical about transforming three basic ingredients into something that makes people smile.
Recipe FAQs
- → How long do these mints need to chill?
-
The mints require at least one hour of chilling time to firm up properly. For the best texture, let them set until they're no longer tacky to the touch. You can leave them longer if needed—they'll only become easier to handle.
- → Can I make these ahead of time?
-
Absolutely. These mints store beautifully in the refrigerator for up to one week in an airtight container. For even longer storage, freeze them for up to two months. Just layer between parchment paper to prevent sticking.
- → What if my dough feels too sticky?
-
Simply incorporate more powdered sugar, a half-cup at a time, until the dough reaches a workable consistency. It should feel soft like playdough but not stick to your hands. A dusted work surface also helps considerably.
- → Can I use lemon instead of orange?
-
Certainly. Swap the orange extract for lemon extract and adjust the food coloring accordingly. The technique remains identical—you'll just end up with bright, lemony mints that are equally refreshing.
- → Do I need an electric mixer?
-
While an electric mixer makes quick work of combining ingredients, a sturdy whisk and some elbow grease work perfectly fine. The key is beating until completely smooth before adding the powdered sugar.
- → How should I serve these at a party?
-
Arrange them on decorative platters, tiered stands, or in pretty candy dishes. Their small size makes them ideal for wedding favors, baby showers, or alongside coffee and tea. The orange color adds a cheerful pop to any dessert table.
