 Save
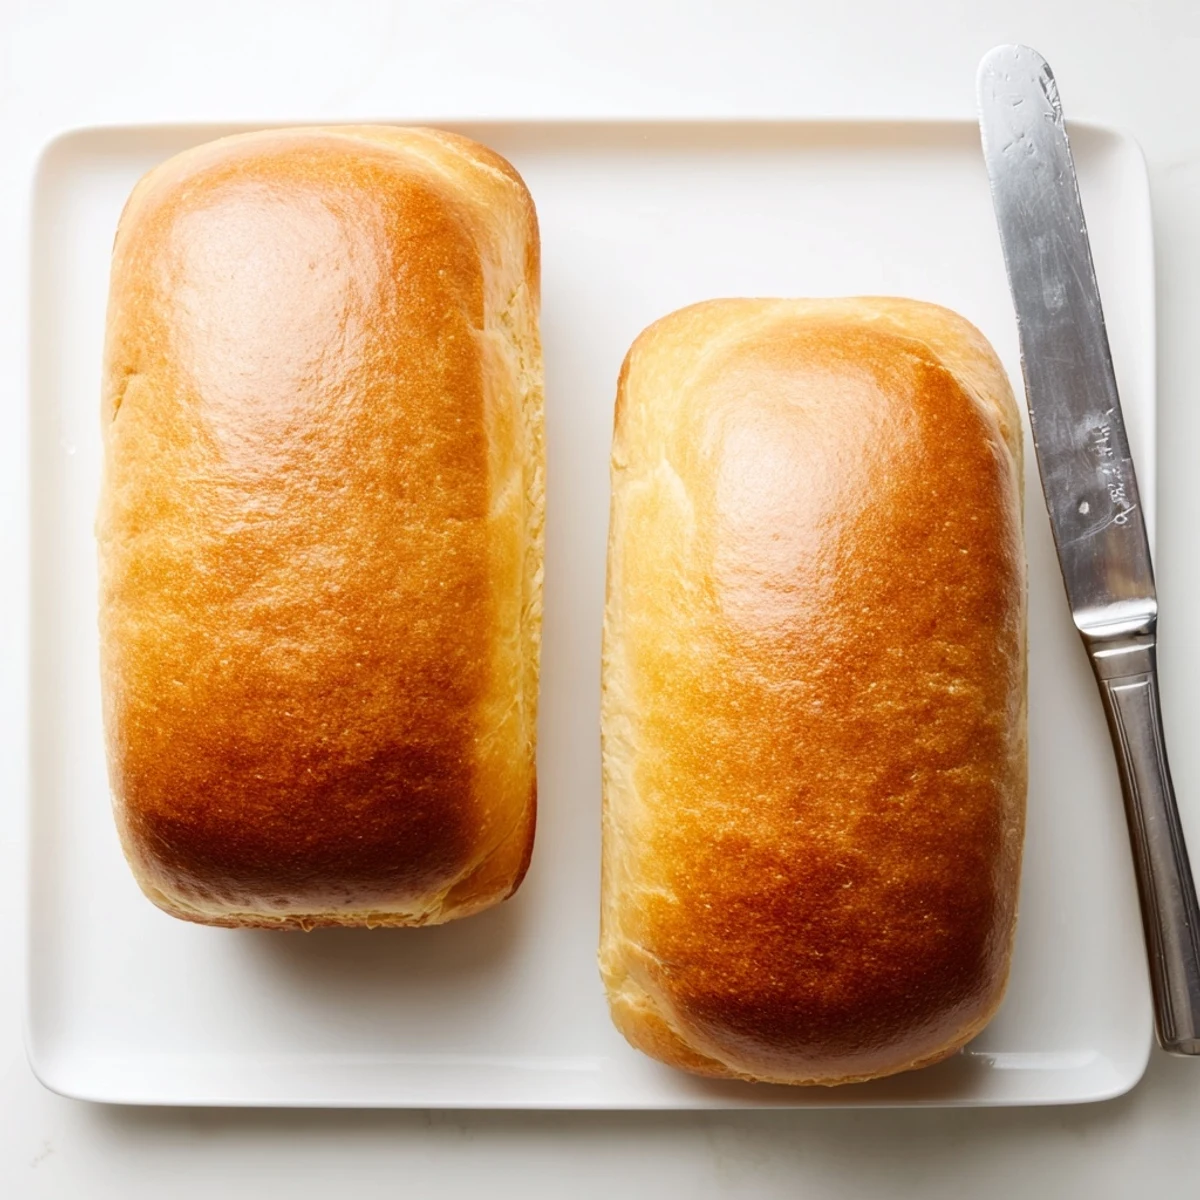
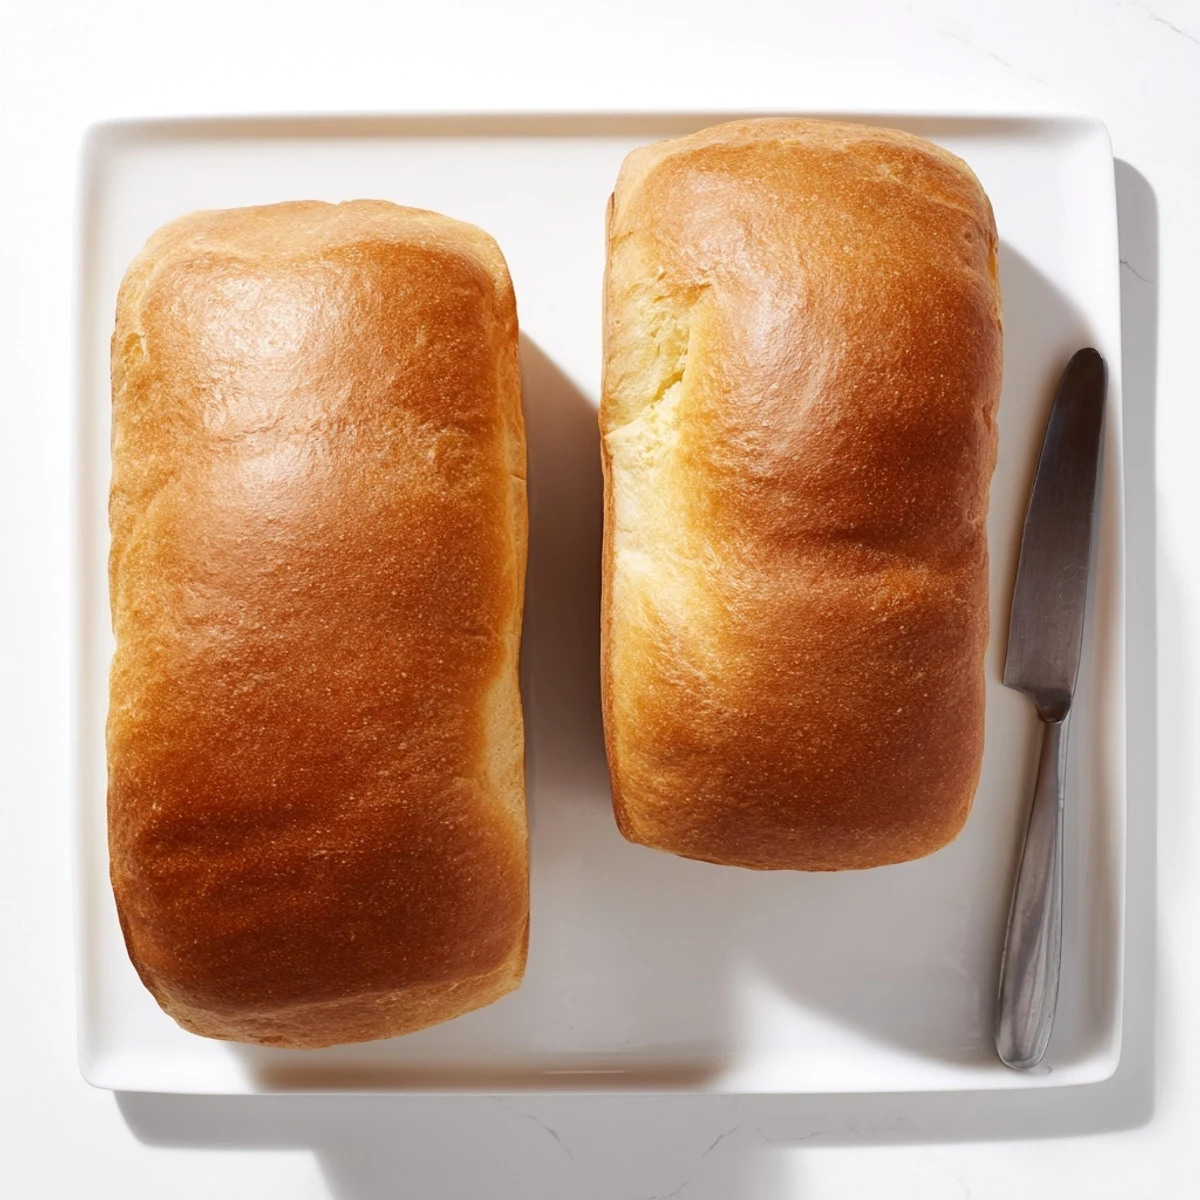
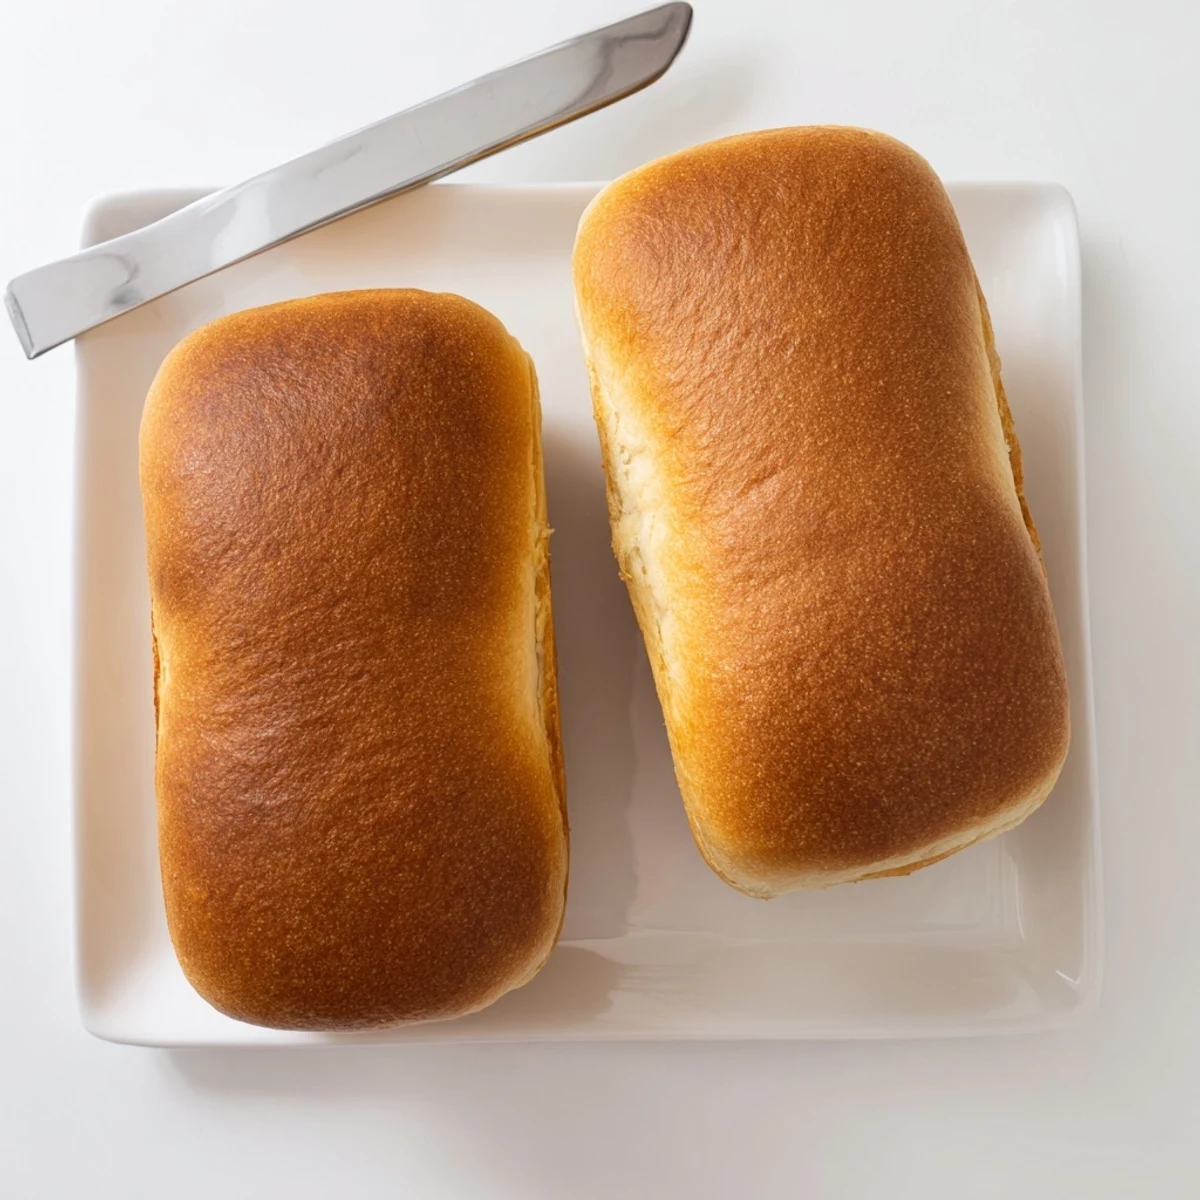
Save This beloved American staple yields two beautiful golden loaves with a tender crumb and subtle sweetness. The straightforward process combines basic pantry ingredients with traditional kneading and rising techniques. After just over two hours of passive time, you'll have bakery-quality slices that toast beautifully and make exceptional sandwiches.
The dough develops structure through proper kneading, while the generous rise creates that signature airy texture Amish baking is known for. Brushing warm loaves with butter adds an irresistibly soft finish.
My grandmother kept a ceramic crock on her counter filled with flour and a wooden spoon that had worn smooth from decades of stirring. I'd stand on a chair watching her transform those simple ingredients into something that made the whole house smell like comfort. Now whenever I bake this bread, that same yeasty aroma transports me right back to her kitchen, even though my countertop is miles away from hers.
Last winter my neighbor came over during a snowstorm with nothing but a jar of jam. We stood in my kitchen eating slice after slice of this bread straight from the oven, not even bothering with plates. The snow kept falling outside but inside we had warm bread and good conversation, which is really all you need sometimes.
Ingredients
- All purpose flour: Start with 5 and a half cups but keep the extra handy since humidity affects how much flour the dough will absorb
- Active dry yeast: Make sure your water feels like bath temperature any hotter and youll kill the yeast before it can work its magic
- Salt: Do not skip this it balances the sweetness and gives the bread structure
- Warm water: Temperature matters more than you think between 110 and 115 degrees is the sweet spot
- Granulated sugar: This feeds the yeast and gives just a subtle sweetness that makes this bread special
- Vegetable oil: Keeps the bread tender and helps it stay fresh longer
Instructions
- Wake up the yeast:
- Dissolve the sugar in warm water then sprinkle the yeast on top and let it get bubbly and frothy about 10 minutes
- Build the base:
- Stir in the oil and salt once you see that beautiful foam layer on top of your yeast mixture
- Form the dough:
- Add flour gradually starting with 5 cups and mixing until it forms a shaggy mass then add more flour a quarter cup at a time until the dough pulls cleanly from the bowl sides
- Knead it:
- Turn onto a floured surface and work the dough for 6 to 8 minutes until it feels smooth and springs back when you poke it
- First rise:
- Place in a greased bowl cover with a towel and find a warm corner to let it double in size about an hour
- Shape the loaves:
- Punch down gently divide in half and form each piece into a loaf that fits nicely into your greased 9 by 5 inch pans
- Second rise:
- Cover again and let the dough rise until it crests about an inch above the pan rims 30 to 40 minutes
- Bake to golden:
- Bake at 350 degrees for 30 to 35 minutes until the tops are golden and the loaves sound hollow when you tap them
- Cool completely:
- Remove from pans and let cool on a wire rack or youll end up with gummy slices from cutting too soon
 Save
Save This bread has become my go to for housewarming gifts and new neighbors. Theres something universal about receiving homemade bread that says welcome better than anything else I can think of.
Making It Your Own
I have started mixing in herbs like rosemary or garlic powder sometimes just to see what happens. The basic recipe is so forgiving that it happily accepts all sorts of little experiments without complaining at all.
Timing Tips
On busy weekends I mix everything up the night before and let it do its first rise in the refrigerator. In the morning I just punch it down shape it and bake while the coffee brews.
Storage Secrets
Once you discover how easy homemade bread is you will want to keep some around always. Heres what I have learned from making this recipe weekly for years.
- Wrap cooled loaves tightly and they stay fresh on the counter for three days
- Slice before freezing and you can toast individual slices straight from the freezer
- Butter the tops immediately after baking for the softest crust imaginable
 Save
Save There is something profoundly satisfying about turning flour water and yeast into bread that nourishes both body and soul. I hope this recipe finds a permanent place in your kitchen like it has in mine.
Recipe FAQs
- → What makes Amish white bread different from regular white bread?
-
Amish white bread typically has a slightly sweeter profile and exceptionally tender crumb. The combination of sugar and oil creates a softer texture that stays fresh longer than standard white bread varieties, making it ideal for everyday use.
- → Can I use whole wheat flour instead of all-purpose?
-
Yes, substitute up to half the all-purpose flour with whole wheat for added nutrition. Keep in mind that whole wheat absorbs more liquid, so you may need slightly less flour or more water. The texture will be denser and heartier.
- → Why did my dough not rise properly?
-
Ensure your water temperature is between 110–115°F—too hot kills yeast, too cold won't activate it. Also check that your yeast is fresh and not expired. Place dough in a warm, draft-free area away from cold air currents.
- → How do I know when the bread is fully baked?
-
The loaves should be golden brown on top and sound hollow when tapped on the bottom. An instant thermometer inserted into the center should read 190–200°F. If the top browns too quickly, tent with foil during the last 10 minutes.
- → Can I freeze the baked loaves?
-
Absolutely. Cool completely, wrap tightly in plastic, then foil. Freeze for up to 3 months. Thaw overnight at room temperature. For best results, slice before freezing so you can grab individual slices as needed.
- → What's the purpose of punching down the dough?
-
Punching down releases excess carbon dioxide and redistributes yeast cells for even rising. This step prevents large air pockets and creates a uniform crumb structure. It also degasses the dough so it can rise properly in the loaf pans.
